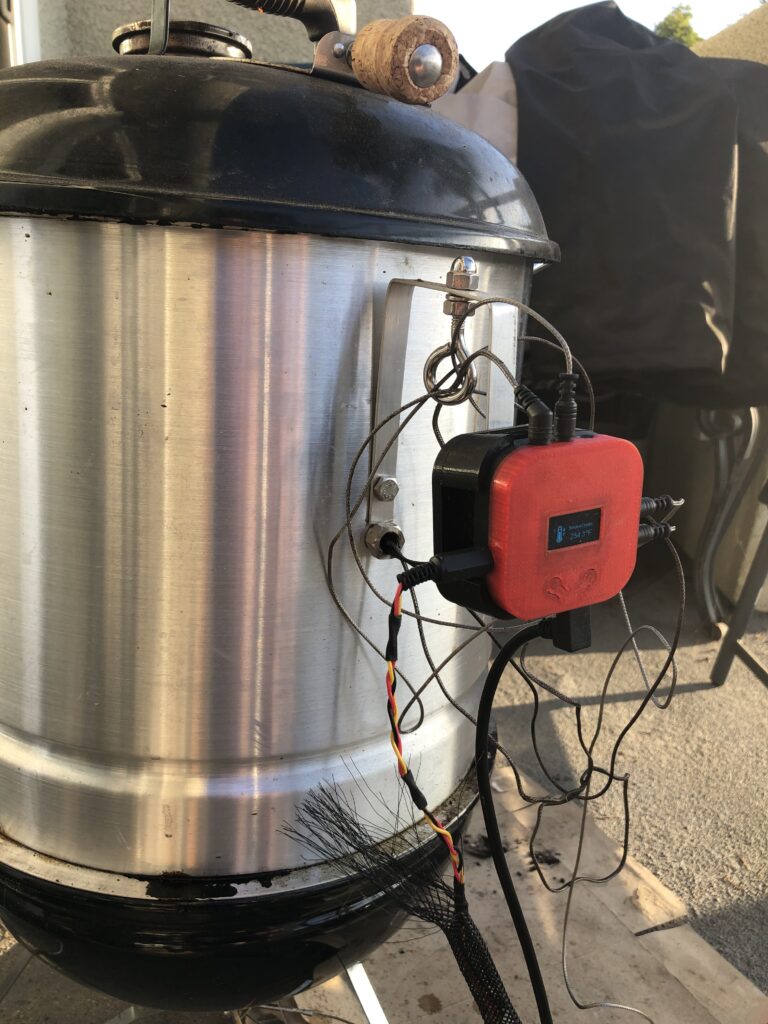
After my first few cooks with the Mini-WSM, I quickly came to the conclusion that I did not want to be tied to this thing for an entire cook. So I set about with incremental changes and then one giant “make the robots do it” leap.
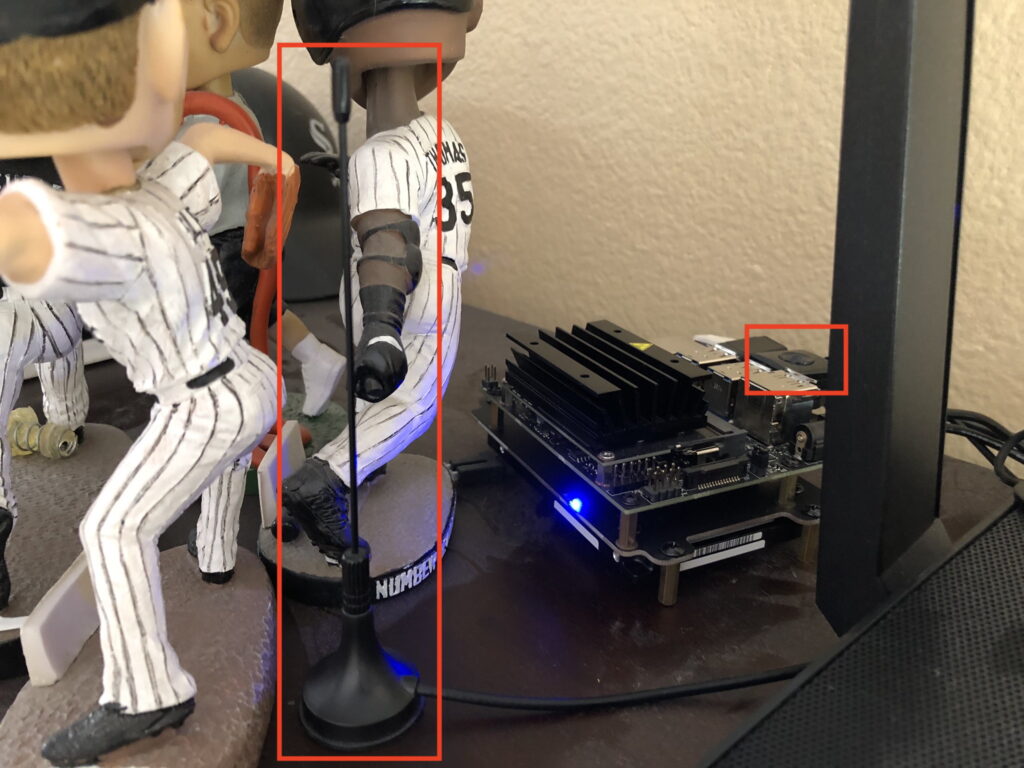
The first step was to get the data from the ThermoPro into Home Assistant (and Apple Home). This part was relatively straightforward: the ThermoPro uses a protocol on the 433MHz band to communicate between the probe base and the receiver display and I was already using a SDR and listener software to ingest a couple of outdoor temperature and humidity sensors into HA. I added some config settings to the listener which set up publishing to MQTT, then set up a couple MQTT sensors in Home Assistant, et voila: the readings from the smoker were now in my phone as well in my home automation server, allowing me to keep an eye on my cook when out of range of the base and also get alerts if things were finished or getting out of whack if I wasn’t paying attention to the receiver.
This was definitely a step up, however it also meant that I had to do things in order to keep my cook under control. Sure, during those first few cooks I appreciated the craft of dialing in the temps for the duration of the cook. Which is fine when you’re testing things out with chicken. When you move on to the “low and slow” cooks and have other things you want/need to get done during the half a day it takes to get a pork butt out, “the craft” gets pretty old and the mind wanders to how you can get the robots to do it. After all: if robots are handling my vacuuming, they can handle this.
Because of how small the Smokey Joe is and also wanting to try something different, I decided against the now-almost-universal path of using a blower / bellows as the method of temperature control. Since manually I was mainly doing temperature control by opening/closing the bottom damper and leaving the top one generally in the same position, I set about that being the part I automated out.
It took awhile to find a controller that hit on my requirements: operated a servo and had a local API or MQTT interface. If found it in the WLANThermo Nano V3. After some Google Translate-aided back and forth to figure out customization and shipping logistics (had to order a battery separately elsewhere), I had what I needed for the smarts.
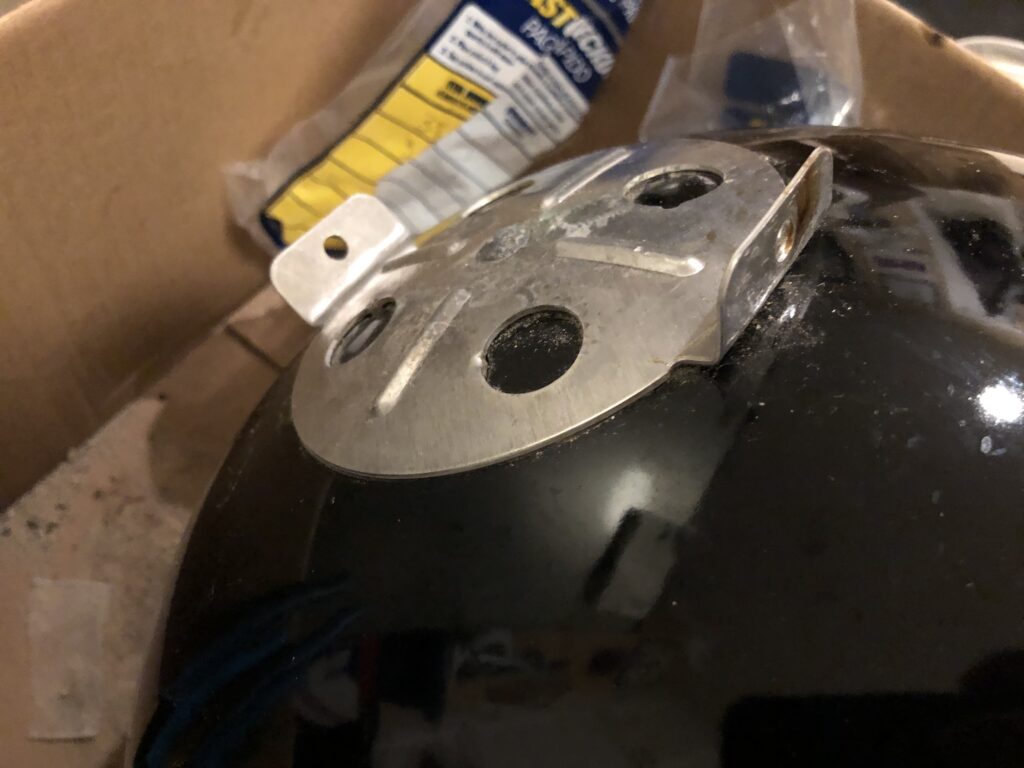
For doing the actual work, I had to spend some time learning about gear ratios and servo motor strengths. The plan was to put a bar across both flaps of the damper, attach a big gear to it, then have the servo turn that with a smaller gear. To keep everything in place I used TinkerCAD to create a mount to hold the motor in place underneath as well as a bearing attached to the gear.
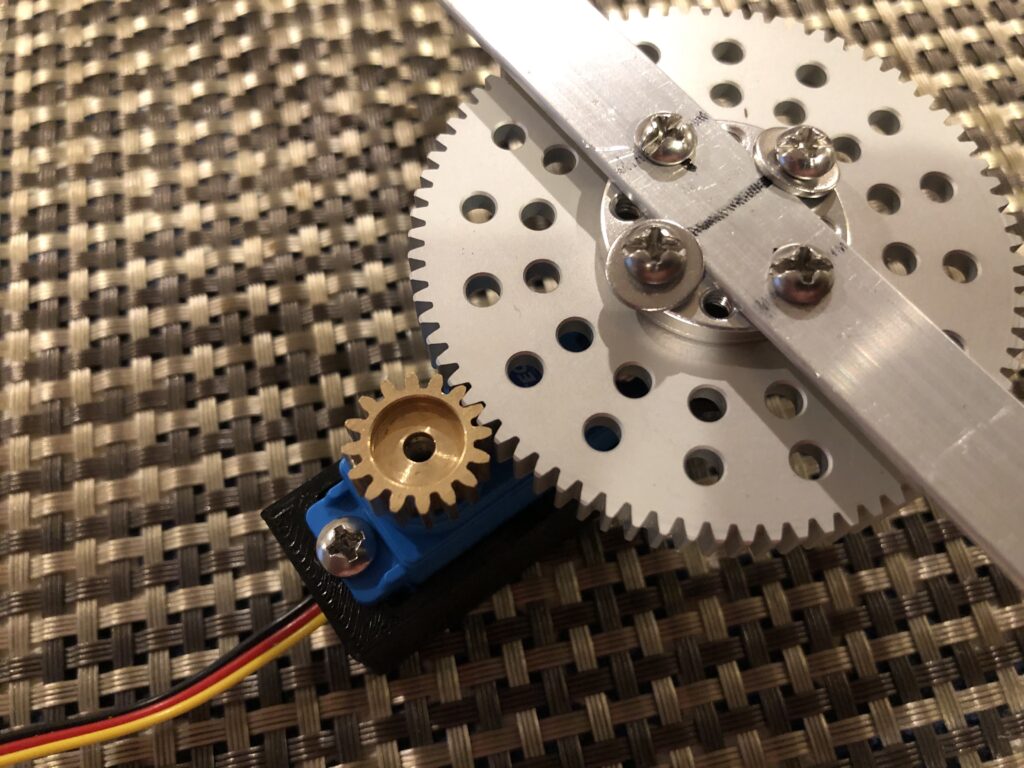
Everything worked well initially, but the first servo I got was hilariously underspec’d and burnt out after a short cook. After ordering a beefier one and redoing the mount, it worked flawlessly for as many cooks as I threw at it.
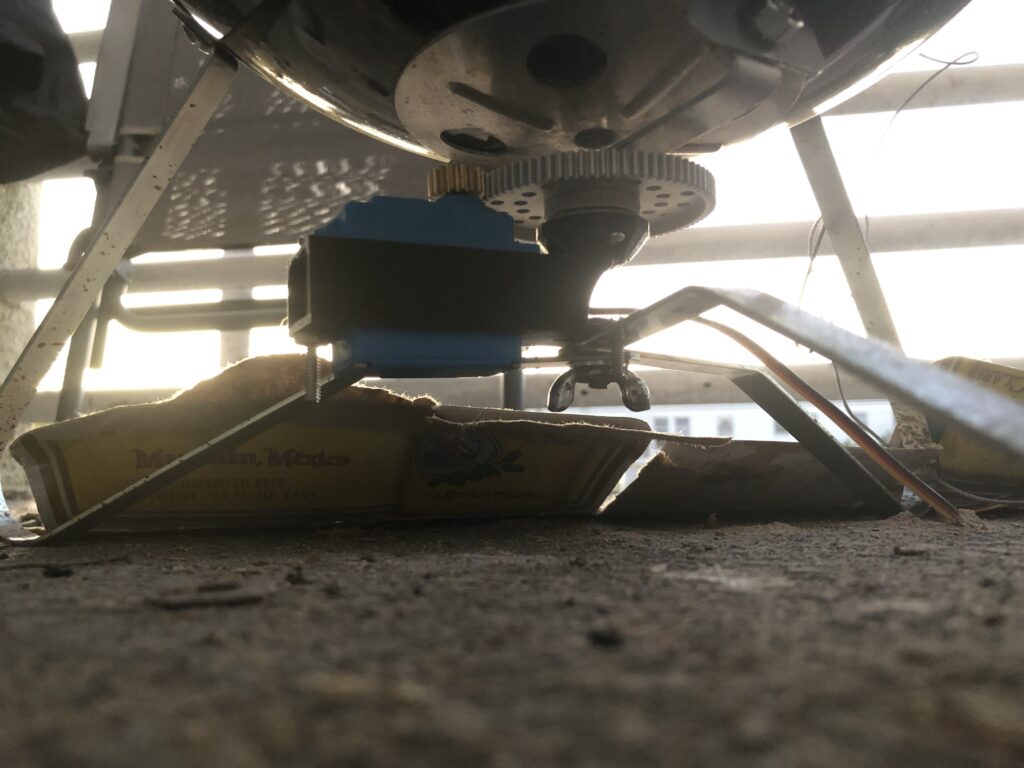
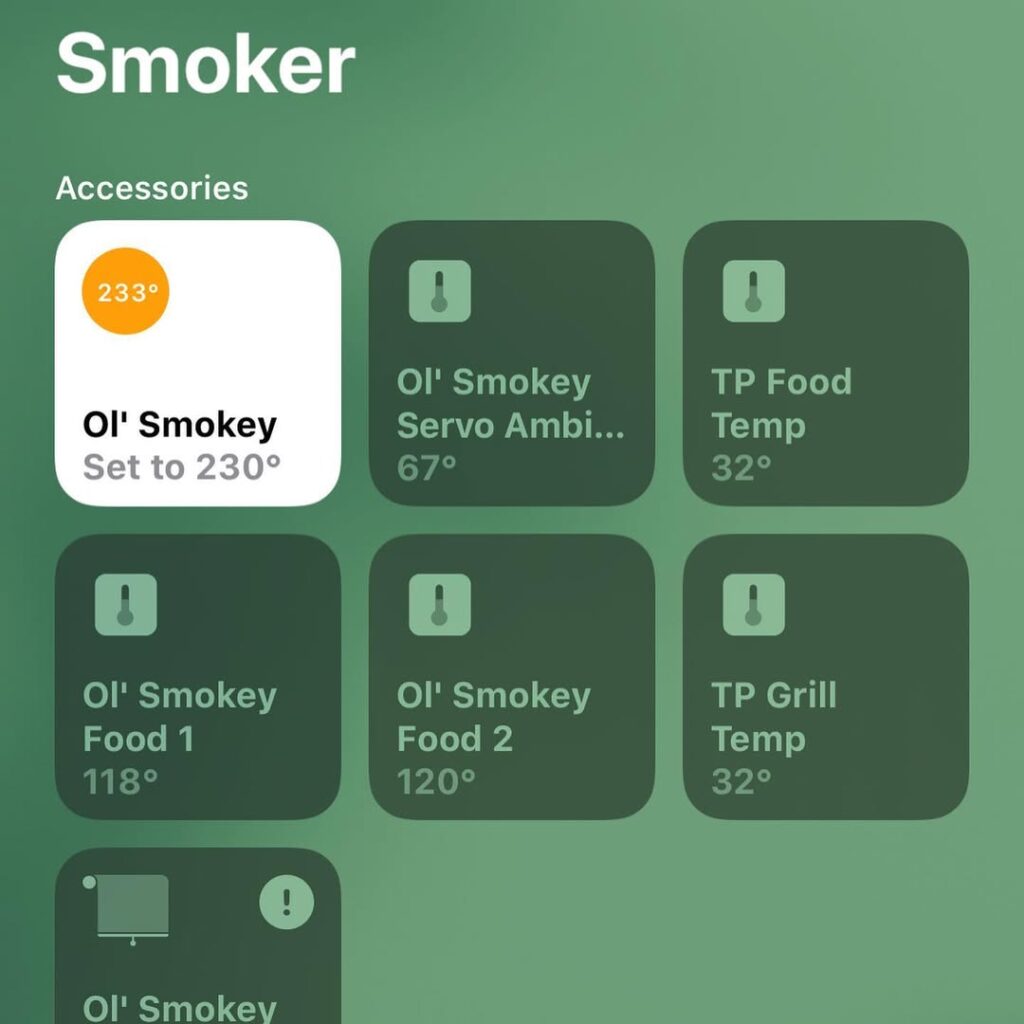
The Nano, like all BBQ controllers, is simply a PID controller attached to something. In my case, it was whether to open the damper between 0-100% based on a temperature probe at the grate compared to a set point. While I could probably dial in the variables, the defaults worked good enough for me and kept the temperatures pretty dialed in. Since it had the aforementioned MQTT interface, I was able to add controls within Home Assistant to get temperature readings (and get alerts), change my set point, turn on automatic or manual damper adjustment. The Nano also serves up a web page thus offering a direct way to do those things as well, but I wanted a way to do those things if, say, I had to run to the store or otherwise out of range of home wifi.
This setup has served me well and I’ve had some amazing cooks with it. I’ve since upgraded smokers (more on that in a future post) but this little guy survived our move and is still around & kicking in my backyard, ready at a moment’s notice.